The News feature allows you to create news listings for your site. Listings are organized in descending order by date posted, with the most recent listing appearing at the top of the News page. In order to create news, the News feature must be enabled on the website. If you do not currently have the News feature on your site but would like to have it set up, please contact webmaster@appstate.edu.
View a sample of the News page and Latest News block
Create News
To create News, from the admin menu, select Content - Add content. On the Create content page click News.
Title
Enter the Title for your News item.

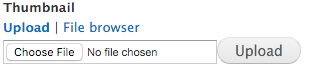
Image(s)
Upload a thumbnail image to be displayed with this news item on the news list, page, and block. Use the File browser link to use an image already uploaded to the website. Be sure to input Alternate text for screen readers. Text entered in the image Title field will be displayed as a caption with the image on the news page. Click Choose file to browse to an image and then click the Upload button.
Once an image has been uploaded you can add Alternate Text and Title details.
- Alternate Text: This text will be used by screen readers, search engines, or when the image cannot be loaded. See Insert/Edit Image for details on when Alternate Text is required for ADA compliance.
- Title: The title is used as a tool tip when the user hovers the mouse over the image, and as the caption for the image during the slideshow.
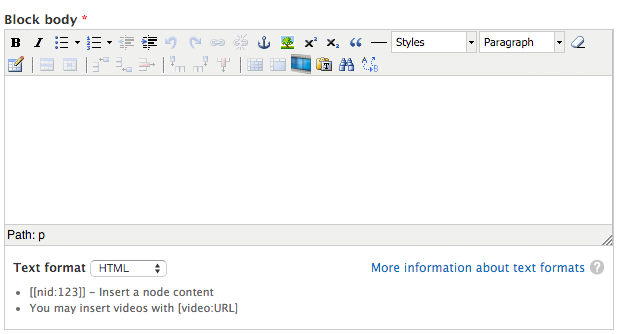
Body
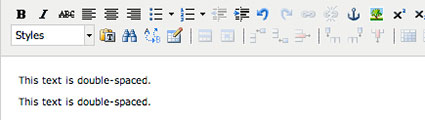
The Body field is where you will enter all of the content for your new page - text, links, images, etc. The formatting toolbar (also known as the Editor) at the top has a variety of formatting options. See Editor Options for more information.

Existing Link
Enter the external link (including the initial http://) for this news item if one already exists. Otherwise leave this field blank.
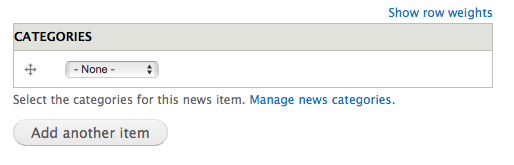
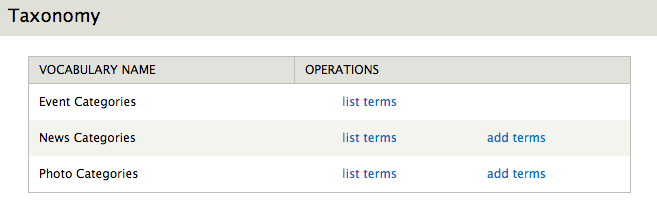
Categories
Select categories for this news item. Learn more about adding and editing News Categories to the website.

Header Image
Upload an image that will display in the header of this page.
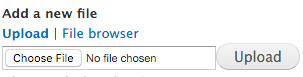
Once an image has been uploaded you can add Alternate Text, Title and Caption details.
- Alternate Text: This text will be used by screen readers, search engines, or when the image cannot be loaded. See Insert/Edit Image for details on when Alternate Text is required for ADA compliance.
- Title: The title is used as a tool tip when the user hovers the mouse over the image, and as the caption for the image during the slideshow.
- Caption: The caption will appear with the thumbnail on the news page.
Click the Add another item button to add additional images to the gallery for the News post. Use the drag-and-drop handle to change the order of the images in the News gallery.
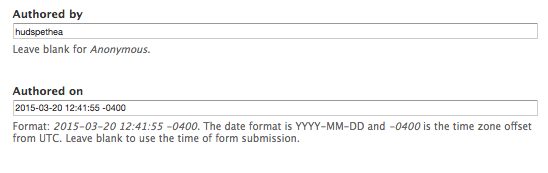
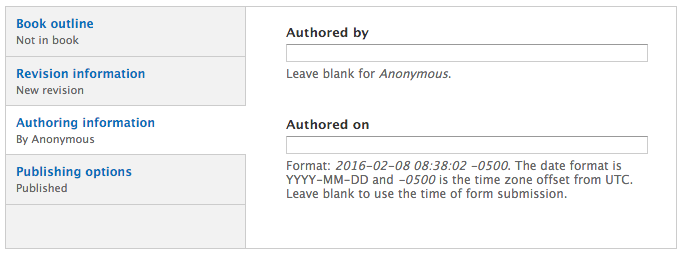
Authoring Information
The site will automatically log the username and the date/time a new page is created.
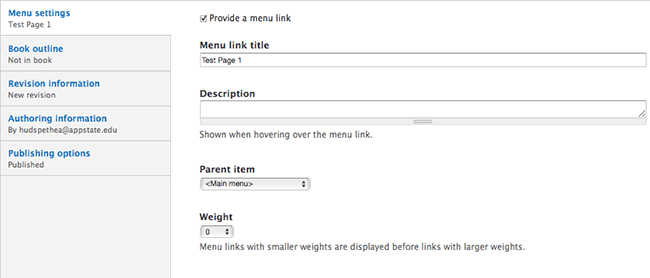
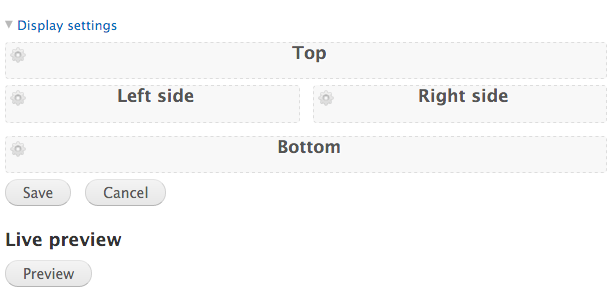
Menu settings
Since the News post is part of a feature and the post will automatically be added to the News page and the Recent News block, there is no need to assign a Menu link title to the News post.
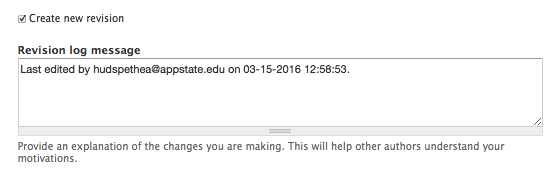
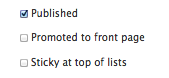
For information on Revision information, Authoring information, and Publishing options, see their respective instruction pages on this website.
Save
Click the Save button when you have completed entering the News content.
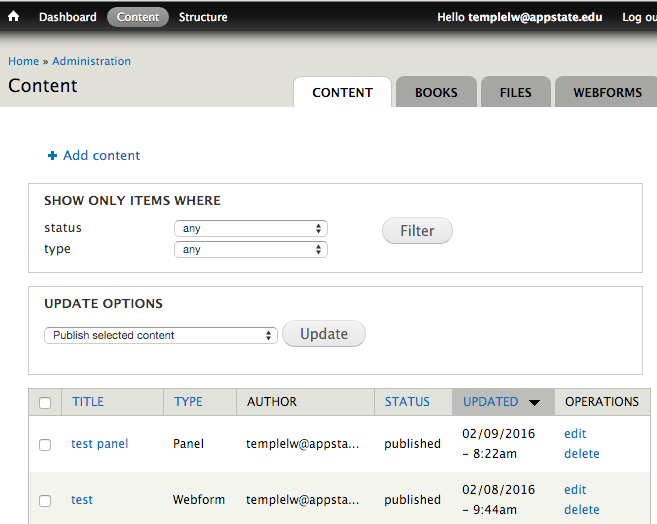
Edit News
There are two ways to edit a News post - by Browsing or via the Content list. See the Edit a Page section on this site for more information.


 Allows you to format your text as bold or italic.
 Allows you to insert a bulleted or numbered list.
 Allows you to indent a list item or a section of text to the left or right.
 Allows you to undo or redo tasks you have performed in the body field.
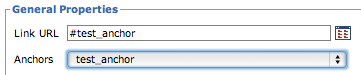
 Allows you to create different types of links in your content.


 Allows you to remove a link from text or an image.
 Allows you to insert an image on the page. Learn more about

 Allows you to format your text slightly above or below the standard text line.
 Allows you to indent a section of text on the page, as well as to format it with larger text.
 Allows you to insert a horizontal line on the page.
 Allows you to select different type formatting for titles, subtitles and text. Heading 3 defines the most important heading. Heading 6 defines the least important heading.
 Allows you to remove text formatting that you have added, using the Editor options, in the Body section. Select the text that you would like to remove the formatting from, and click the Remove formatting icon on the editing toolbar.
 Allows you to insert a table on the page.


 Format Table Row Properties
 Insert Row Before
 Insert Row After
 Delete Row
 Insert Column Before
 Insert Column After
 Delete Column
 Split Merged Table Cells
 Merge Table Cells
 Allows you to embed video on your page.


 Allows you to strip any formatting from the source prior to pasting into the body field.
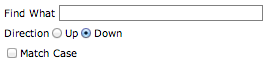
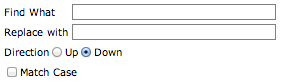
 Allows you to Find or Find/Replace a word or phrase throughout the text in the body field.